You are browsing the archive for Christmas Tree craft.

Candy Christmas Tree Creation

December 17, 2013 in Chronic Illness - Disabilities, Creative Adventures

Kian w tree w words

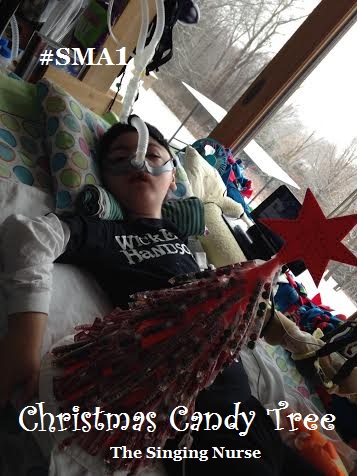
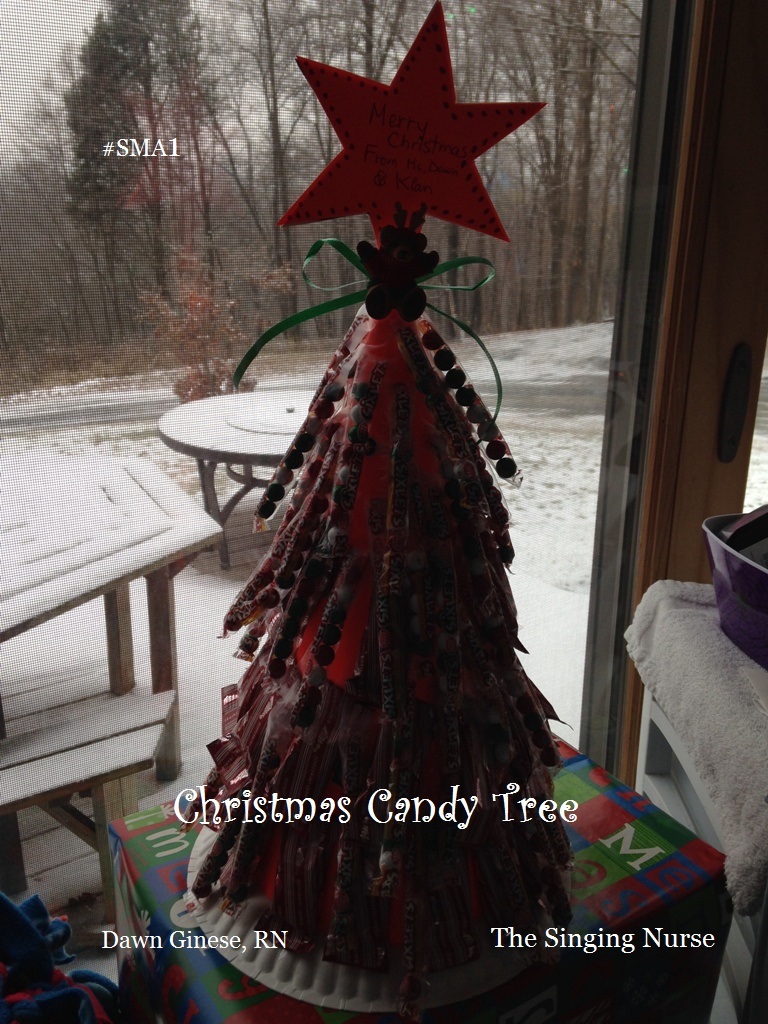
 Most of us like a little candy during the Christmas season. Kian and I wanted to show appreciation to all his nurses and therapists so we created a simple Christmas Candy Tree. We made it with poster board, stickers, candy, a bow, a star and a Christmas pin. It took about an hour to create this Christmas Candy Tree Craft. Have some fun, spread a little cheer, make and bring one to a Christmas Party or use it as a center piece for one of your holiday gatherings.

decorate with sticker tape to paper plate

Create a cone(use 1/2 sheet size poster board)and tape it to a white paper plate. Use hand over hand with disabled children to place stickers on the cone. Attach a Star with a Christmas message. Details for creating a cone.

Place tape on the ends of the candy and help your kids tape it to the tree. Use hand over hand with handicapped or disabled children. All children like to see the results of touching and building a creation.

hand over hand with Kian w words

Wrap a box and place your creation on top. We also added a simple bow and a Christmas bear pin.

add a star, bow and pin witih words

Find out more about Kian and SMA1. SMA1 is the leading cause of death in children under 2 years of age. You can be tested to see if you are a carrier. Kian is now 7 years old and doing well. He has 24 hr nursing care, has short teaching sessions with a special education teacher 5 days a week, has PT, OT, ST, a regular dietitian visit and now enjoys chiropractic sessions. Kian lives a very busy life. He has many limitations but feels like all other children.

Another Christmas Crafts you may like:

Christmas Poster Tree Card

Subscribe via feedburner to receive all our post about being crafty, healthy, musical and educational. A great resource to help make life happy and healthy for you and your kids.

Subscribe at the top right corner to receive all our posts and a free Hand Washing Activity eBook.

Have a wonderful Christmas, 

Dawn

How are you staying, healthy, happy, creative and educated? Comment below.

Poster Board Duct Tape Christmas Tree Card

December 3, 2012 in Creative Adventures, TSN outreach Projects, Uncategorized

Poster Board Duct Tape Christmas Tree Card

Each year as a church we prepare practical modest gifts to give when we go Christmas caroling at Green Briar. Green Briar is an assisted living group home of lovely folks who love anything we do for them. They are so thankful for our visits and appreciate it when we bring gifts, dessert and the kids. I wanted our presentation to be fun and to last throughout the Christmas season.

Items you will need:

name tags, clear tape, packaging tape, fancy duct tape, ribbon, assortment of stickers, hole punch, scissors, box cutting knife, markers, lip gloss, 2 large pieces of green poster board, large piece of cardboard

Determine the size tree you want, I wanted ours to be big because originally I was going to attach 53 name tag ornaments to it. Tape 2 poster board ends together with packaging tape creating 1 large piece; overlap the edges about 2 inches so it is secure. Draw a Christmas tree shape on the poster board; I used a green marker, this works well just in case you mess up. Place the poster board on top of the same sized cardboard piece and place small pieces of tape about 12 inches apart to secure the cardboard and poster board together while you cut out the Christmas tree with the box cutting knife.

Tape the cardboard and poster board tree together along all the edges with your fancy Duct tape. Allow about ½ the tape size to show on the front of your project. This is a little tricky at inside edges; you will have to do some angle cuts to allow the tape to lay flat. When you do the outside tips of the tree it is easier to let the tape adhere to each other and trim it after.

I added re-enforcement to the back of the tree by taping another smaller piece of cardboard to it. I also did this for the trunk of the tree.

We presented the Christmas Tree Card to the kids at church and told them what it was for. This was a transition time just before they were heading to their Sunday school classes so I cut up clusters of stickers in advance so each child had about 5 stickers.

I placed the Christmas tree card on the rug as the kids gathered around and placed their sticker on it. It was amazing how they placed them so evenly.

The older children later weaved little messages and scriptures in between the sticker that pertained to Christmas and drew candy canes and designs. The church family signed the card.


 I picked up the name tags at Michael’s, they were pretty reasonable at 2.99 for 16, punched a hole at the side with a hole-punch and tied a tube of lip gloss to it with ribbon. We attached Avery address stickers to create multiple cards since we were putting together 53 of them.  Thanks to Anna for helping with all the prep.

I was going to cover the whole tree with the name tag ornaments, and when the residents removed them, they would see the messages. I decided against that and scotch taped some of the ornaments along the edges and put the remainder in a small basket. I didn’t have the heart to cover up the stickers and sweet messages everyone had placed on the tree.

Optional objects to be tied to the name tags: pencil, candy Have fun with the Christmas Tree Card craft.

Have a wonderful Christmas!

For Healthy Kids, Ms. Dawn

Other craft posts you may like:    Making greeting cards      Back to School Sampler

Health post for winter:  ♥   ♥  Healthy living and Hand washing  favorites