You are browsing the archive for 2012 July.

Even Disney needs help stopping germs!

July 27, 2012 in Children's Health Education

Wow, came across this blog post about Disney experiencing a mysterious bug of sorts. It’s not surprising that germs are present in popular public places such as The Wild Kingdom. The more people and the closer in proximity to others we are, will increase our chances of germ exposure. It is good to know that Disney is upping the presence of hand sanitizer to it’s guests. We here at The Singing Nurse have learned that hand washing is really the best remedy since it incorporates friction as well as soap and water. Hand sanitizer is a good second choice if soap and water is not handy.

Things to Remember:

1. Don’t touch your eyes, nose and mouth while in public places. This is really hard and surely difficult for the kids to remember. Make it fun and play a game, have a reward for the winners. Try this fun germ game with the kids while you are on vacation. 

2. Bring your own stash of hand sanitizer to insure you are prepared and wash hands often.

3. Cough or Sneeze in your shoulder or a tissue to trap your germs which is being kind to your neighbor. Check out this post on the common cold which will also apply to any germy situation.

4. Download these two songs from the CDbaby player and add them to your favorite travel CD to make learning  fun. “Rubba Dub Dub” & “Don’t Spread Your Germs Around” Hear and download them here.

5. Spread a little “Don’t Spread Your Germs Around” love. See how here.

Have a wonderful vacation, get rested up for your back to school plans, stay healthy and don’t spread your germs around. 

Tell us your healthy or not so healthy vacation adventure…Comment below…

Connect to us and subscribe in the top right corner. 

For Healthy Kids and Families, 

Ms. Dawn, The Singing Nurse


A little Sunny Diversion!

July 20, 2012 in Creative Adventures, God - Faith - Hope - Love

Well I suppose it is not all talk about healthy living like washing hands, brushing teeth, not spreading germs and such because I am taking a little sunny diversion. Many of my connections via the web are talking about back to school, eating healthy and exploring creativity, which are all important, but sometime it is good to stop the train.

Vacations are great times to detach from our norms and all the thinking. Getting away allows us to free our minds of all the planning which I know is difficult for the creative teacher sort of soul because everything we see and take in is a lesson in the making. Who of you can attest to that?  So… vacations are wonderful times of doing mindless activities like walking on the beach, collecting shells and rocks and having someone else do the cooking.

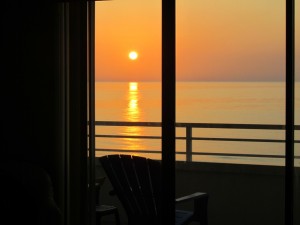
My husband and I enjoyed some time away on the shell and pebbled shores of Florida and caught some breathtaking sunrises, sunsets and moon rises. The pictures below are some of those moments shared with family and my beloved. I hope you enjoy God’s magnificent handiwork here.

The pictures were taken with my Canon PowerShot SX210 is. It has 14x Optical Zoom but goes as high as 56x. I love this small easy to use camera. My pictures have only been re-sized. 

 The heavens declare the glory of God; the skies proclaim the work of his hands. Psalm 19:1

                                                                                                                              Sunset

                                                                                         Moon rise


Looks like a painting…                                                      

                                                                                     In His hand…

                                                                                        Come sit…

                                                                                          The Sun Peeks...

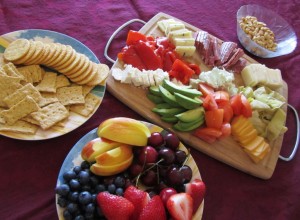
                     We did eat healthy …                                             and we did do a little mindless eating…
       
 
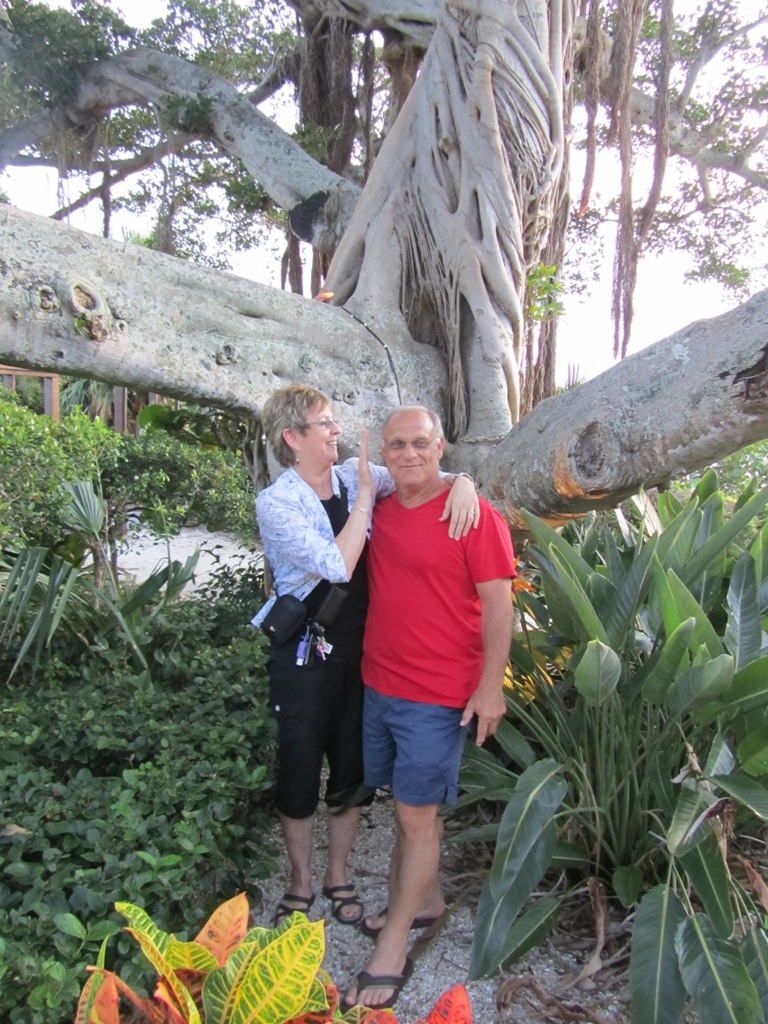
                   I thought this tree was really cool, my husband is not to bad either…so I included them today. 
Have a great rest of the summer, remember it is only half over so get some R & R. I would love it if you stopped back by to get prepared for your school year. We can all use a little help getting prepared to ward off those pesky germs and such.              
For Life and Healthy Living, Dawn                                                                                                                                
Sign-up via email so you don’t miss a post and “

Like” The Singing Nurse on FACEBOOK, follow us on TWITTER

 and check us out on Youtube


Holes in Rocks & Shells, Beautiful Mobiles

July 13, 2012 in Creative Adventures, Uncategorized

Bringing the Outside In, Shell & Rock Mobiles
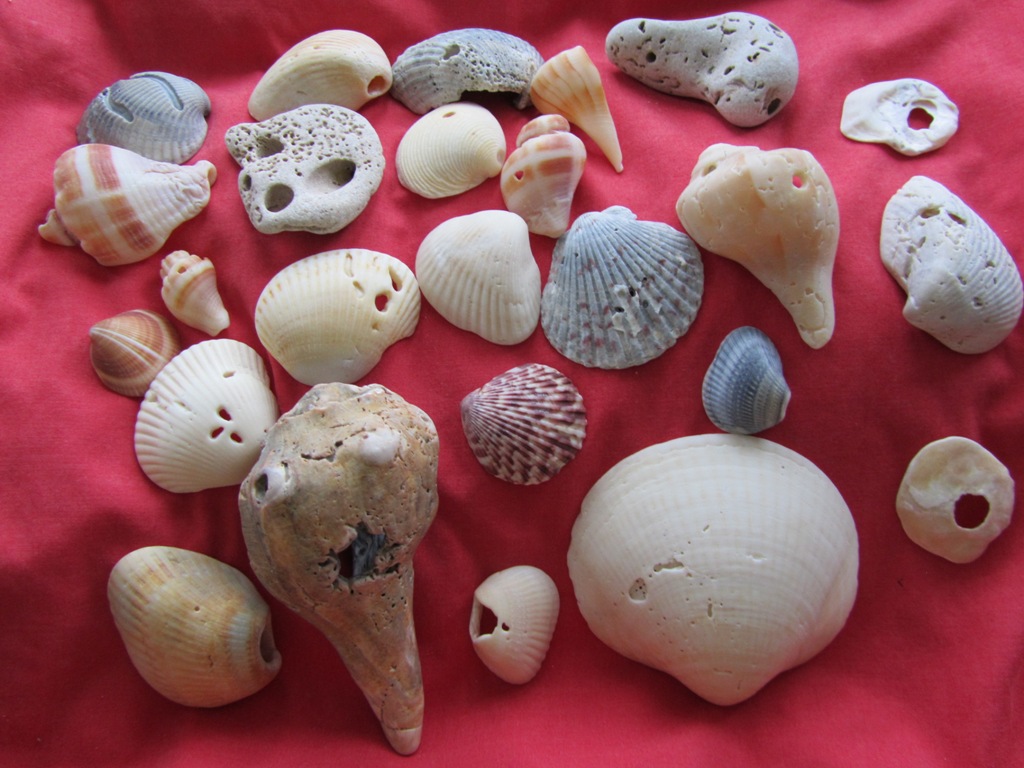
What do you bring home from your summer beach vacation? A local t-shirts can be fun and colorful but they will soon be outgrown and passed on. Shells and Rocks with holes can be interesting and fun and last a whole lot longer. Help your recipient to create something with them or assemble the items and give as a the gift with instruction so they can make it later. Shells and Rocks also bring the element of the outdoors in for your friend or child who does not get to participate in the sun and sand. Shells and Rocks are very affordable. A little string or shoelace, some beads and a stroll along the beach with a bucket is all it takes.

Below are 5 simple steps to make a handsome shell and rock mobile.

Collect your items:

Shells and Rocks with holes

Fishing line or Shoestring

Beads and a Hook

1. Collect your Shells and Rocks with holes. People will be amazed when they see your creation as they often ask me, “wow, how did you get those holes, did you drill them?” First determine what size string you will use as the holes can be smaller if you plan on using fishing line. This project is most appropriate for older children and adults as fishing line and small beads are difficult for little hands to manipulate. See Shoelace project below.
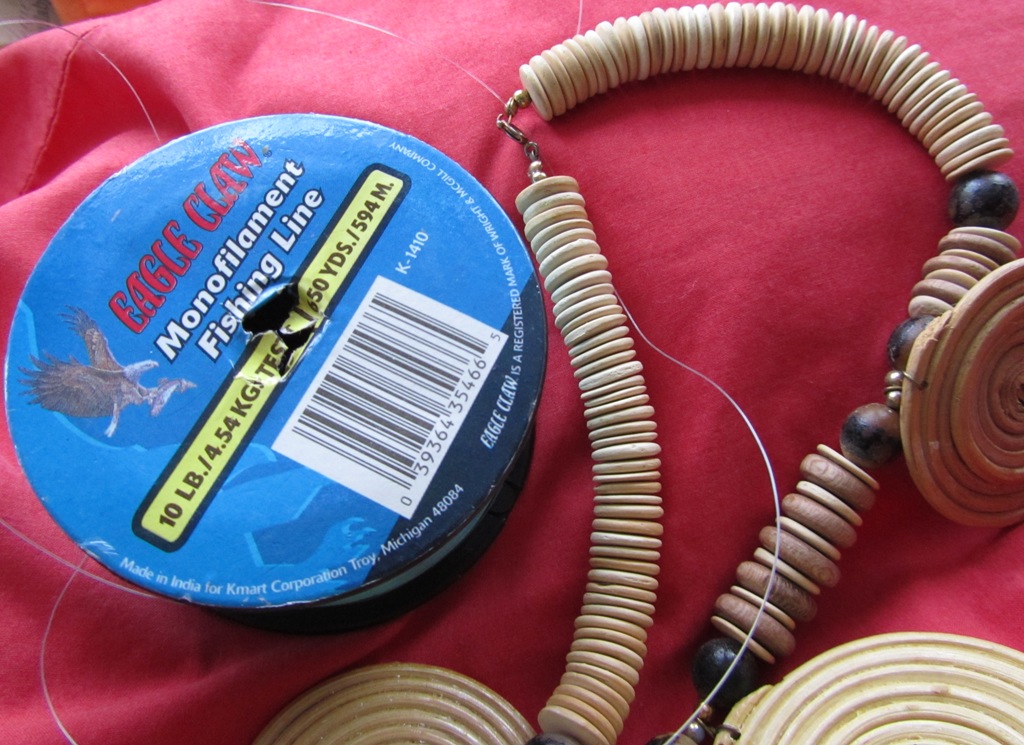
 Gather fishing line and beads. We had fishing line from my husband’s fishing days and the beads were picked up at a second hand store very cheaply.
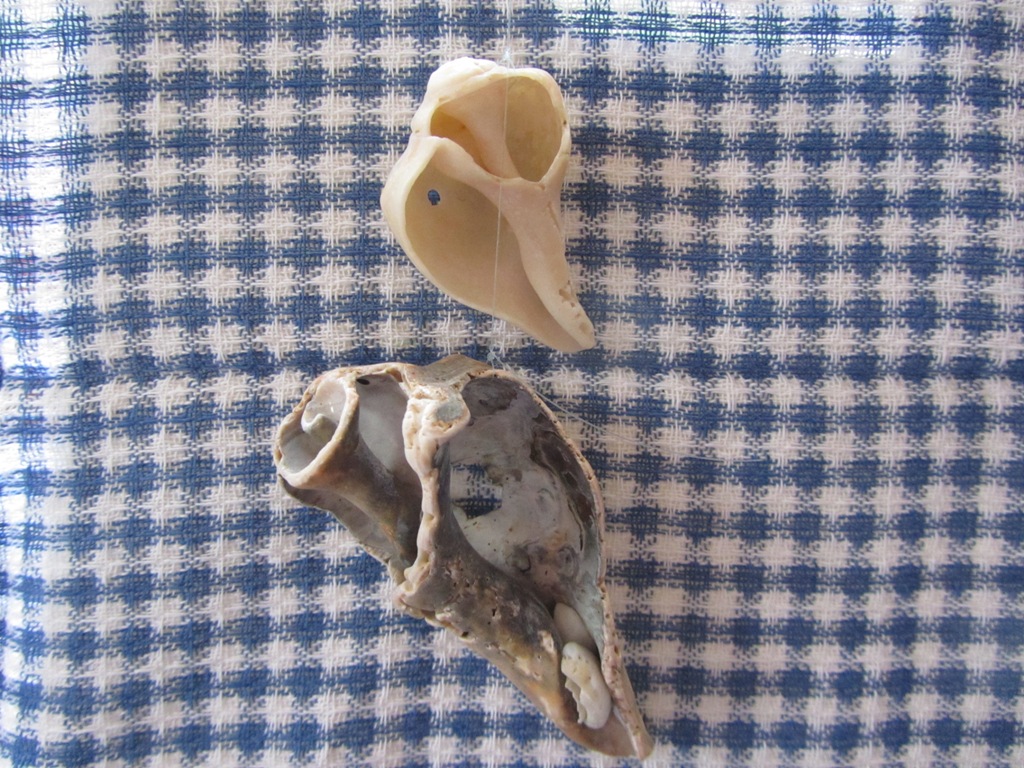
2. Tie a string around your last or bottom rock or shell. I was able to tie two shells next to each other. I like using the largest item for the bottom. Determine how long you want your creation to be and add a few more inches for miscalculations.
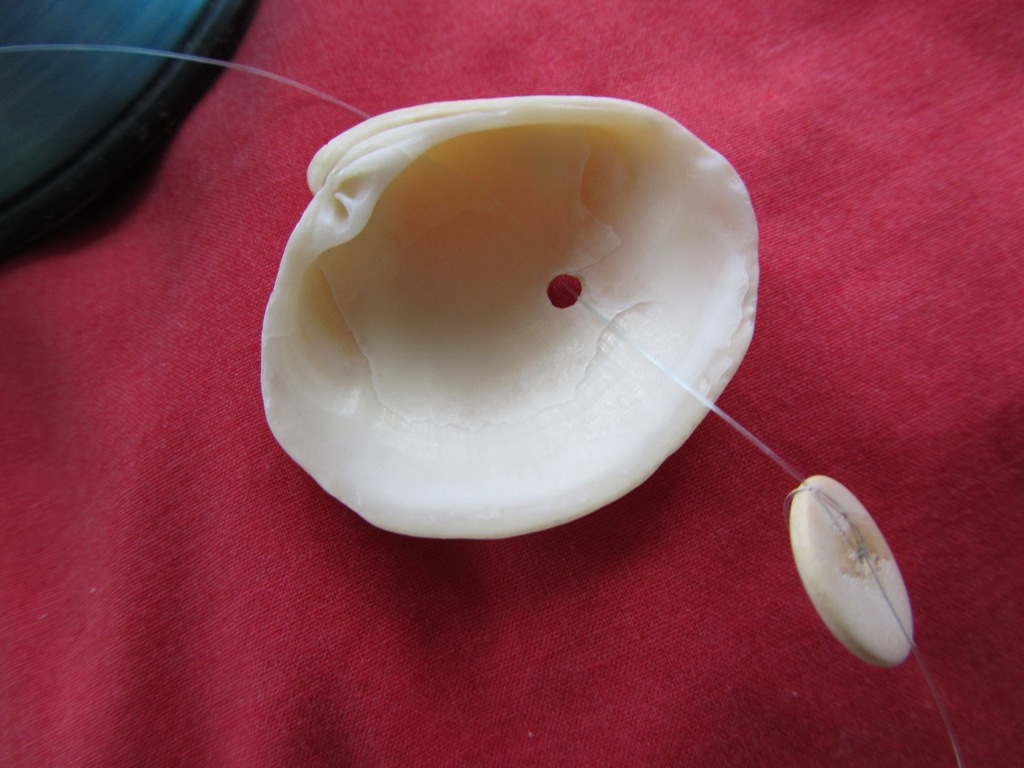
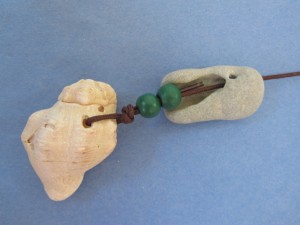
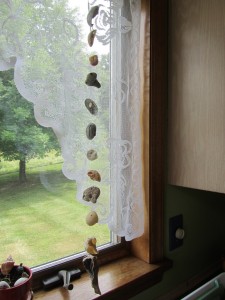
3. Alternate back and forth from Rock and Shells while adding a tied off bead after each one. Tying off the bead prevents the Rock or Shell from sliding as it rests on it. Space out your objects. Natural color beads help create an elegant look.
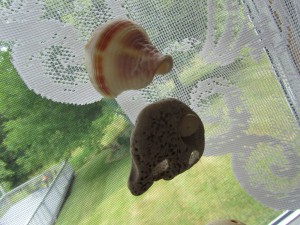
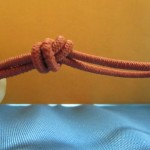
 4. Make a nice loop at the end called an overhand bend knot so it does not slip and untie. I had to do a little homework to determine the name of this knot, so this is a nice freebee knot lesson for you. See pictures below

.         
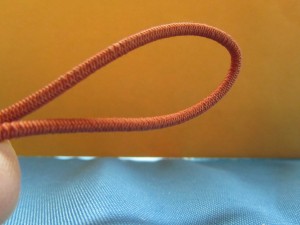
5. Add a hook near your window by screwing it into the wood. If you apply your hardware where the two pieces of wood meet you will avoid window ceil damage.
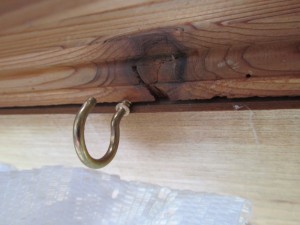
Hang your creation and enjoy it’s natural beauty.
                   

The next Shell and Rock mobile is more appropriate for young children and easier for little hands, while we use a shoelace and larger beads.

Collect your shells and rocks, shoestring, beads and optional hook. If you are giving this project as a gift place it in a nice plastic container with a tight lid. I worked on this project with my patient hand over hand. I allowed him to feel the different textures of our outdoor items. He felt the smooth, the bumpy, and the rough and sometimes the holes were large enough to put his finger right through it. He watched carefully, about half way through I had him watch me complete it.
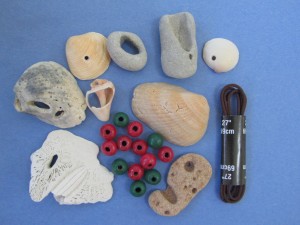
 *Tie off the largest rock or shell.   *Add two beads (one if they are bigger)
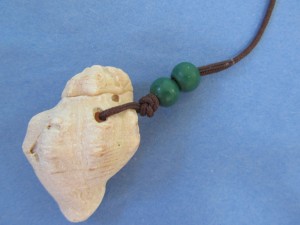
                

*Alternate back and forth until you get close to the end of your shoestring, about 4-6 inches. Allow enough space to tie off another one of those strong overhand bend knots.
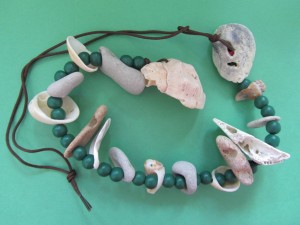
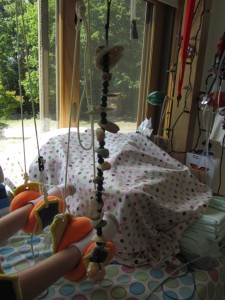
*We added another shoestring to our project so we had more versatility to where we could hang it. My patient has a wooden sling apparatus over his bed so we can easily move the mobile to a place that is in his line of vision.
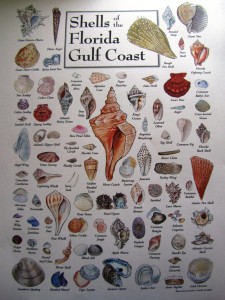
 *Below is a shell guide. It is amazing the number of different shells there are. Check it out and see which ones you have seen on your beach trip.
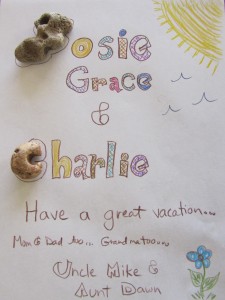
Below is a little rock art. I found rocks close enough in shape to the first letters in my niece and nephew’s names and left a little note.
What creative fun have you been having lately? What have you been doing to avoid the lazy hazy days of summer? We’d love to hear from you, please leave us a comment.

Ms. Dawn, The Singing Nurse

Take a look around to check out posts about recycling, more outdoor projects and ways to educate your kids for healthy living.  

Paint with Leaves & Flowers, Design Your Own Photo Brag Book Cover

July 4, 2012 in Creative Adventures

Paint with Leaves & Flowers, Design Your Own Photo Brag Book Cover

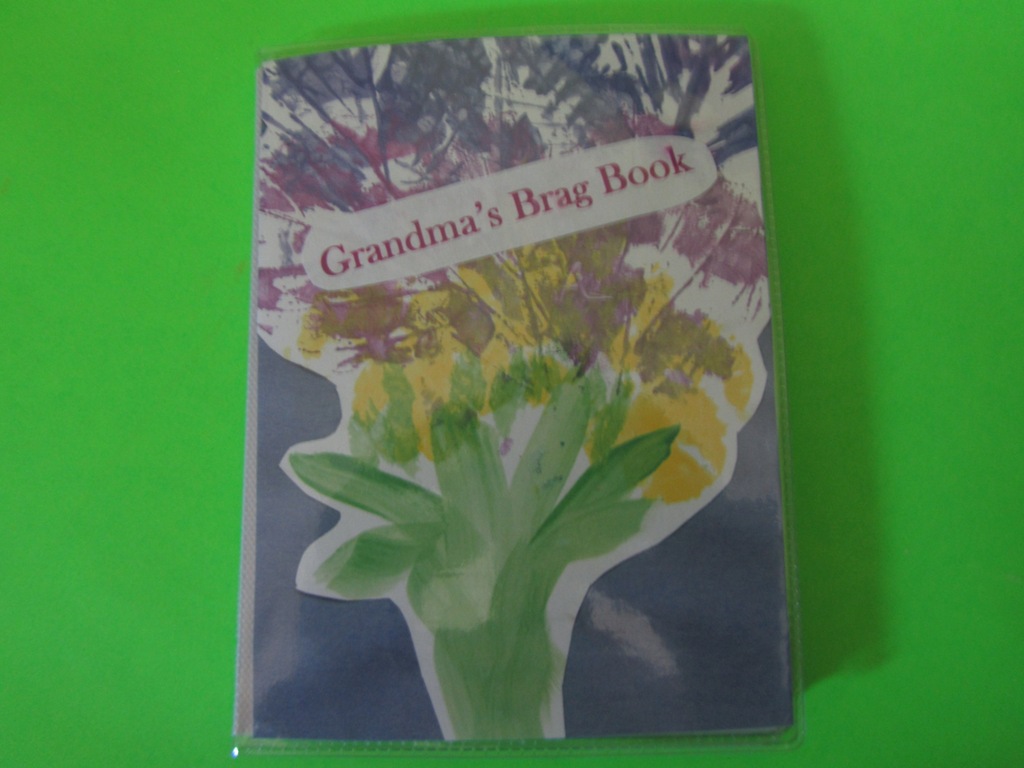
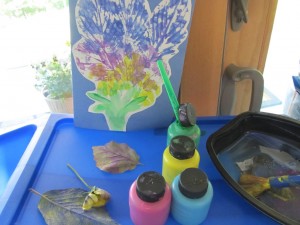
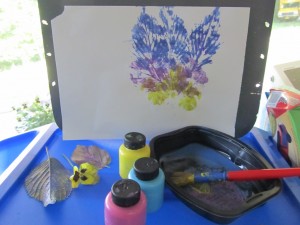
We wanted to make a special gift for grandma so we put together a small photo book. To make our gift extra special and unique we designed our own cover. We painted with leaves and flowers to enjoy the outside elements. Below are 5 simple steps to create your own unique photo book cover.

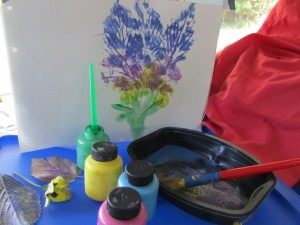
Collect all your items:
Leaves & Flowers
Paint and Paint Brush
White Paper & Construction Paper
Scissors, Glue & Markers

1. Paint each leaf one by one and press onto the white paper. Do your bigger items first as the background. Paint your flowers in a different color and press onto the paper. Add a green stem.  Let it dry.

2. Cut around the edges of the print creation and glue it to construction paper, let dry.

3. Write a note on the reverse side, add a title across the front if you like. We did ours in a document, printed it, cut it and pasted it to the picture. ( I actually photo copied our creation onto thicker paper, that way you can use the original creation again if you like.)

4. Remove the inside cardboard cover of your small photo book, use it to measure and cut  your flower picture creation to the correct size.

5. Insert your creation inside the small photo cover slot. Now add some special pictures to your album.

Note: Do the same for the back cover or add a special photo in the back cover slot.

If you enjoyed this post, subscribe to my blog. I will be posting about ways you can teach your child about life and healthy living. I will give you simple ways to train your children in hygiene, visiting the dentist and other situations your child will face.  I enjoy doing crafts with my patient so you will find lots of crafty posts as well. This is part of a series of posts about using the outdoors to make beautiful art.
Check out my educational and fun music which is one of my greatest resources I can offer you. Learning with music is like hearing a lesson a thousand times.
Leave a comment below, we’d like to hear how you are making your child’s summer, fun.

Ms. Dawn

 The Singing Nurse Music      More outdoor craft fun