You are browsing the archive for Creative Adventures.

Holes in Rocks & Shells, Beautiful Mobiles

July 13, 2012 in Creative Adventures, Uncategorized

Bringing the Outside In, Shell & Rock Mobiles
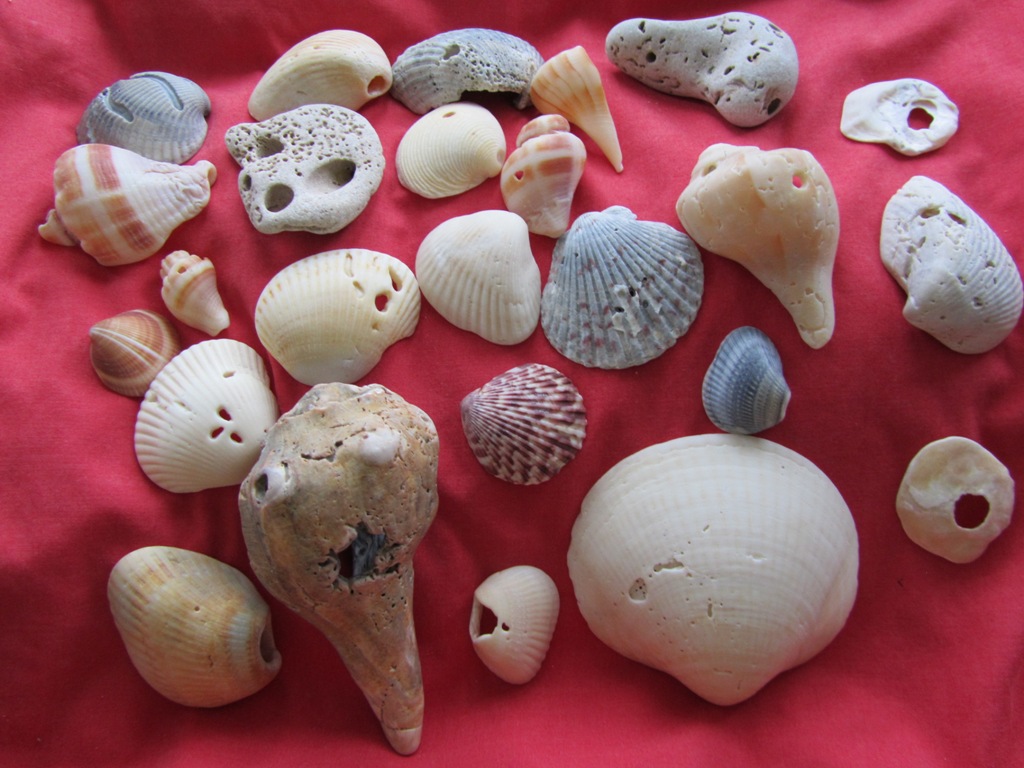
What do you bring home from your summer beach vacation? A local t-shirts can be fun and colorful but they will soon be outgrown and passed on. Shells and Rocks with holes can be interesting and fun and last a whole lot longer. Help your recipient to create something with them or assemble the items and give as a the gift with instruction so they can make it later. Shells and Rocks also bring the element of the outdoors in for your friend or child who does not get to participate in the sun and sand. Shells and Rocks are very affordable. A little string or shoelace, some beads and a stroll along the beach with a bucket is all it takes.

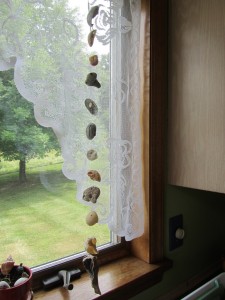
Below are 5 simple steps to make a handsome shell and rock mobile.

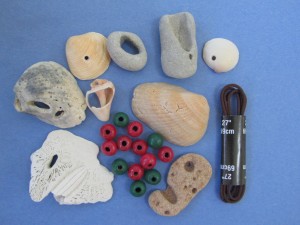
Collect your items:

Shells and Rocks with holes

Fishing line or Shoestring

Beads and a Hook

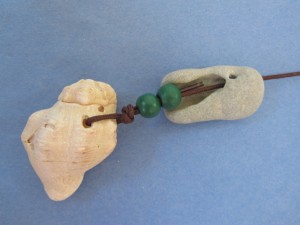
1. Collect your Shells and Rocks with holes. People will be amazed when they see your creation as they often ask me, “wow, how did you get those holes, did you drill them?” First determine what size string you will use as the holes can be smaller if you plan on using fishing line. This project is most appropriate for older children and adults as fishing line and small beads are difficult for little hands to manipulate. See Shoelace project below.
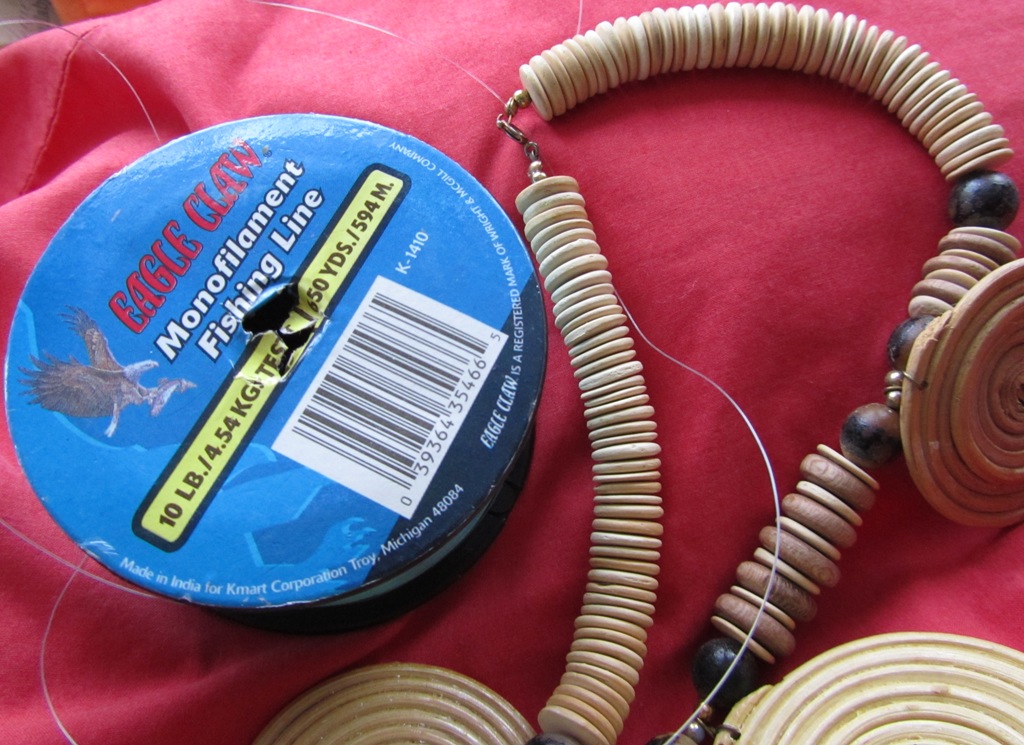
 Gather fishing line and beads. We had fishing line from my husband’s fishing days and the beads were picked up at a second hand store very cheaply.
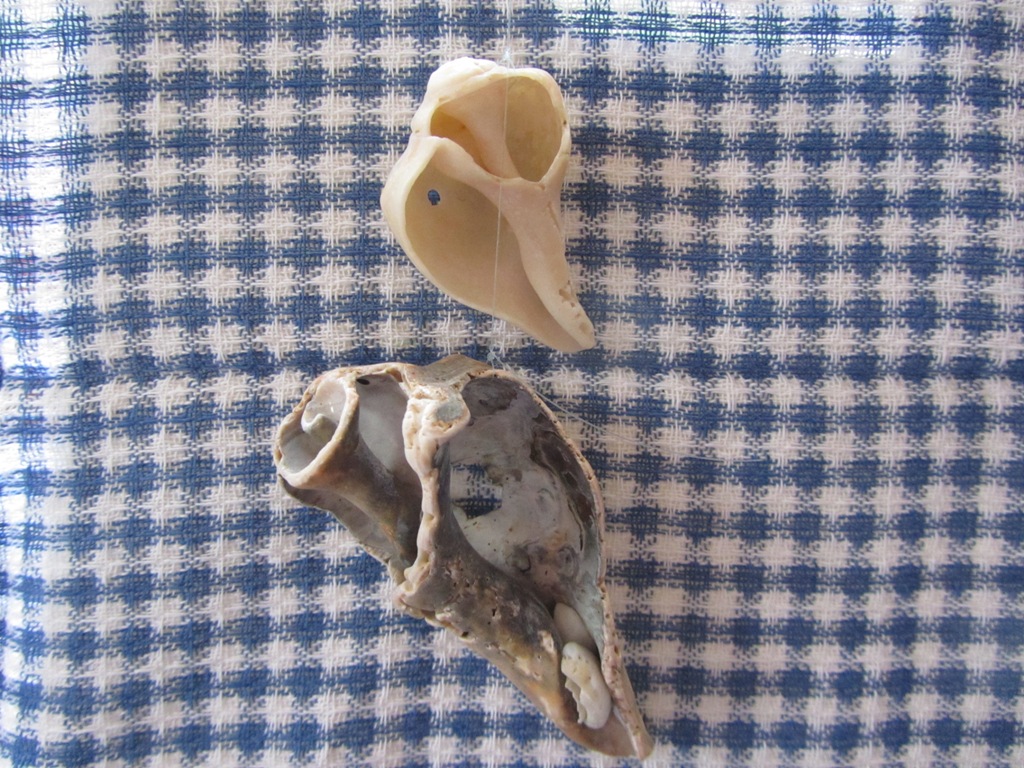
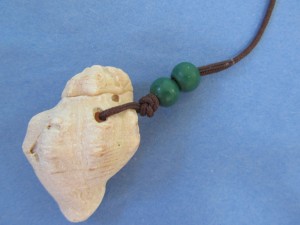
2. Tie a string around your last or bottom rock or shell. I was able to tie two shells next to each other. I like using the largest item for the bottom. Determine how long you want your creation to be and add a few more inches for miscalculations.
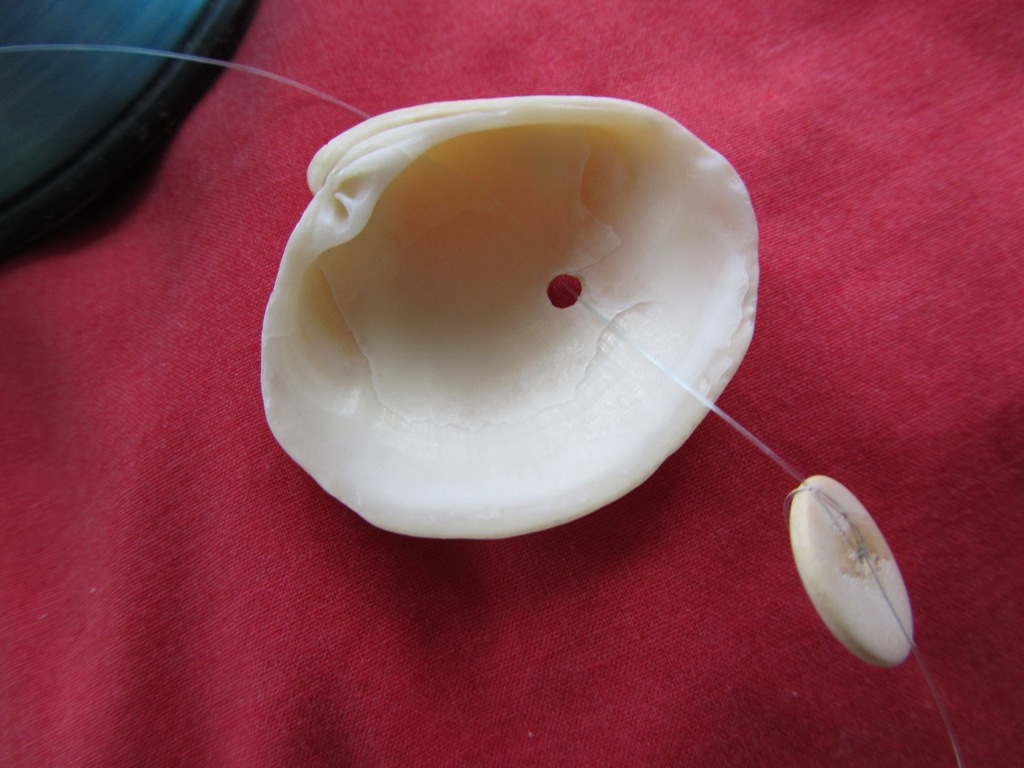
3. Alternate back and forth from Rock and Shells while adding a tied off bead after each one. Tying off the bead prevents the Rock or Shell from sliding as it rests on it. Space out your objects. Natural color beads help create an elegant look.
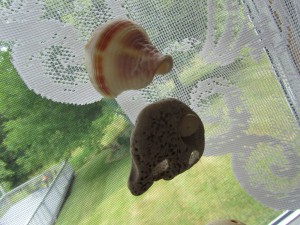
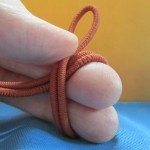
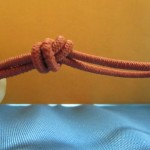
 4. Make a nice loop at the end called an overhand bend knot so it does not slip and untie. I had to do a little homework to determine the name of this knot, so this is a nice freebee knot lesson for you. See pictures below

.         

5. Add a hook near your window by screwing it into the wood. If you apply your hardware where the two pieces of wood meet you will avoid window ceil damage.
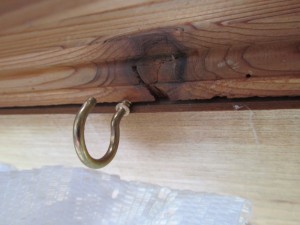
Hang your creation and enjoy it’s natural beauty.


The next Shell and Rock mobile is more appropriate for young children and easier for little hands, while we use a shoelace and larger beads.

Collect your shells and rocks, shoestring, beads and optional hook. If you are giving this project as a gift place it in a nice plastic container with a tight lid. I worked on this project with my patient hand over hand. I allowed him to feel the different textures of our outdoor items. He felt the smooth, the bumpy, and the rough and sometimes the holes were large enough to put his finger right through it. He watched carefully, about half way through I had him watch me complete it.
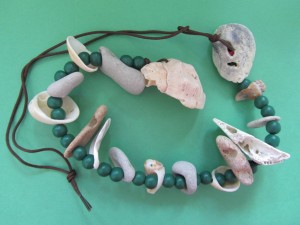
 *Tie off the largest rock or shell.   *Add two beads (one if they are bigger)


*Alternate back and forth until you get close to the end of your shoestring, about 4-6 inches. Allow enough space to tie off another one of those strong overhand bend knots.
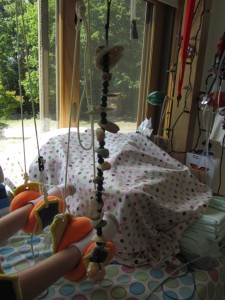
*We added another shoestring to our project so we had more versatility to where we could hang it. My patient has a wooden sling apparatus over his bed so we can easily move the mobile to a place that is in his line of vision.
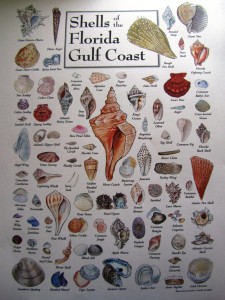
 *Below is a shell guide. It is amazing the number of different shells there are. Check it out and see which ones you have seen on your beach trip.

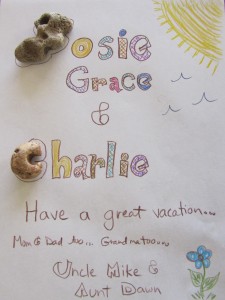
Below is a little rock art. I found rocks close enough in shape to the first letters in my niece and nephew’s names and left a little note.
What creative fun have you been having lately? What have you been doing to avoid the lazy hazy days of summer? We’d love to hear from you, please leave us a comment.

Ms. Dawn, The Singing Nurse

Take a look around to check out posts about recycling, more outdoor projects and ways to educate your kids for healthy living.  
Paint with Leaves & Flowers, Design Your Own Photo Brag Book Cover

July 4, 2012 in Creative Adventures

Paint with Leaves & Flowers, Design Your Own Photo Brag Book Cover

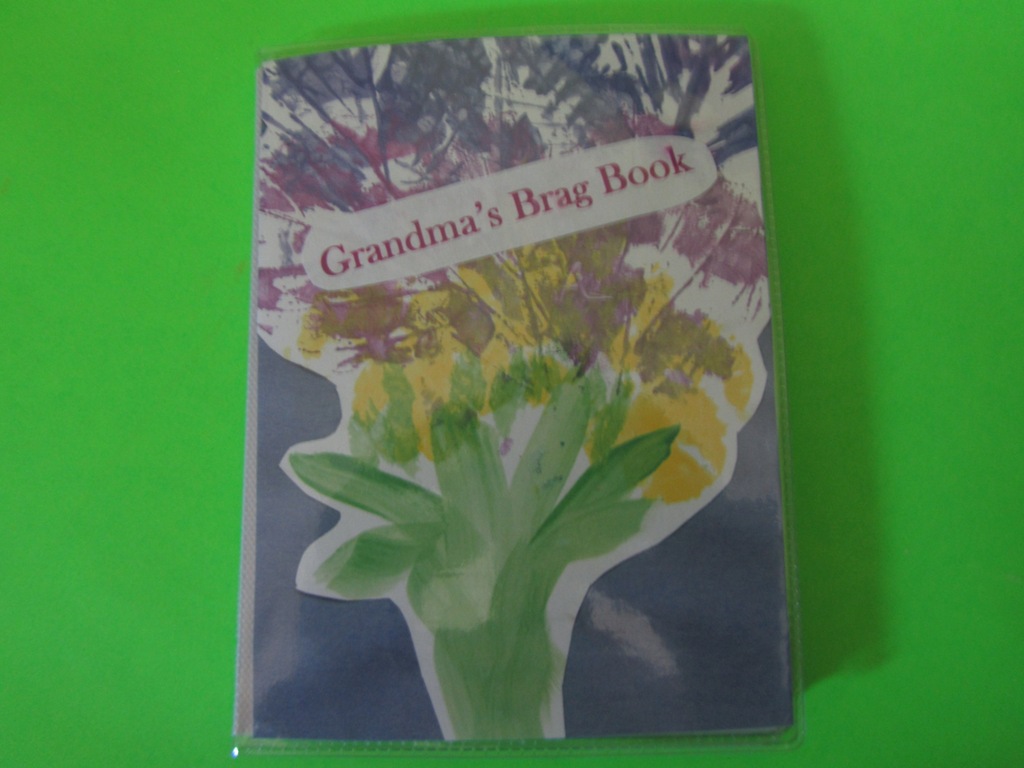
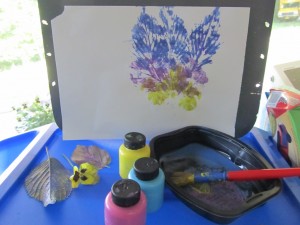
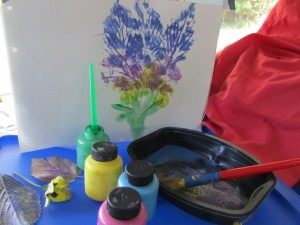
We wanted to make a special gift for grandma so we put together a small photo book. To make our gift extra special and unique we designed our own cover. We painted with leaves and flowers to enjoy the outside elements. Below are 5 simple steps to create your own unique photo book cover.

Collect all your items:
Leaves & Flowers
Paint and Paint Brush
White Paper & Construction Paper
Scissors, Glue & Markers

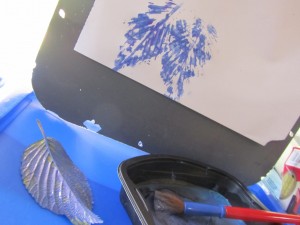
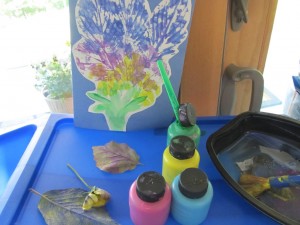
1. Paint each leaf one by one and press onto the white paper. Do your bigger items first as the background. Paint your flowers in a different color and press onto the paper. Add a green stem.  Let it dry.

2. Cut around the edges of the print creation and glue it to construction paper, let dry.

3. Write a note on the reverse side, add a title across the front if you like. We did ours in a document, printed it, cut it and pasted it to the picture. ( I actually photo copied our creation onto thicker paper, that way you can use the original creation again if you like.)

4. Remove the inside cardboard cover of your small photo book, use it to measure and cut  your flower picture creation to the correct size.

5. Insert your creation inside the small photo cover slot. Now add some special pictures to your album.

Note: Do the same for the back cover or add a special photo in the back cover slot.

If you enjoyed this post, subscribe to my blog. I will be posting about ways you can teach your child about life and healthy living. I will give you simple ways to train your children in hygiene, visiting the dentist and other situations your child will face.  I enjoy doing crafts with my patient so you will find lots of crafty posts as well. This is part of a series of posts about using the outdoors to make beautiful art.
Check out my educational and fun music which is one of my greatest resources I can offer you. Learning with music is like hearing a lesson a thousand times.
Leave a comment below, we’d like to hear how you are making your child’s summer, fun.

Ms. Dawn

 The Singing Nurse Music      More outdoor craft fun


Nature Painting, bringing the outdoors inside

June 23, 2012 in Creative Adventures

 Children love the outdoors and I believe boys especially do. This is a project that will integrate four of the senses and bring the outdoor elements and the child together. Collecting the earthy items with your child is great fun and a wonderful learning opportunity. But this craft project exposes the child who is unable to spend long periods of time outdoors as well. Hands on activities are a great way to have your child feel more part and enjoy the elements of nature.

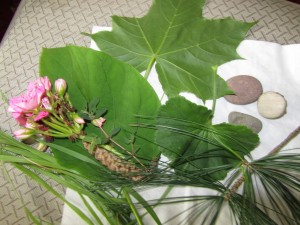
Start by collecting an assortment of items from the great outdoors.

1. Smooth and round rocks (wash the rocks off before using them)

2. Grass

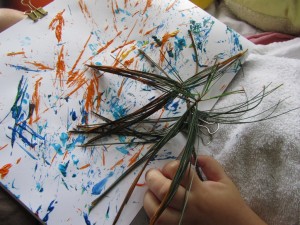
3. Pine needles and pine cones

4. Assortment of leaves

5. Flowers

6. Twigs

Other supplies you may need: tape, paints, paper towels or wipes, white paper, markers

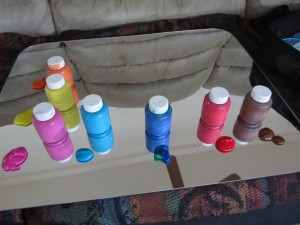
 Lay out your paints, I placed a mound of different color paints on a large mirror. Let your child see you drip the paint on your paint pallet or mirror; this is a visual treat for them. 

Let your child see and feel the texture of each item you are going to use as this integrates his sense of sight, smell and touch. Rub rocks together to stimulate his sense of hearing to help your child realize that these elements are hard. Point out the veins in the leaves, the colors of the flowers and their soft pedals. Bring to his attention the points of the pine needles. 

If he was unable to go collect the items, describe where you got them and if they came from a tree, a bush or the ground. Take a picture if you can, it says a thousand words. I love my digital camera and the instantaneous visual function it has. I will often take a picture of something happening outside to show my little friend. It is hard to see something close or near the ground if your child is in a wheelchair or bed. A mirror is also a helpful tool to help your child see.

Most children have the experience of exploring and the opportunity of rock throwing, feeling the grass under their feet and picking flowers. We can help the wheelchair or bed bound child experience these activities that we so often take for granted.

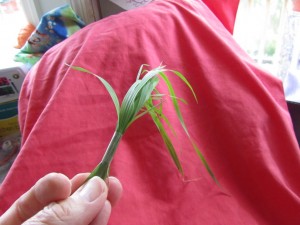
We taped the grass in a bundle to make it like a paintbrush. 

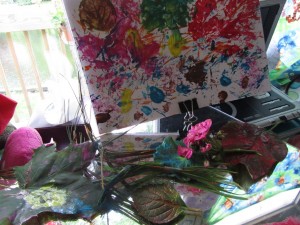
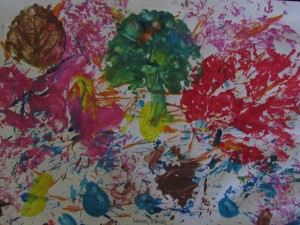
Take one item at a time and press it into the paint and then press it onto the paper. Let your child help press and rub the paint onto the paper. Use hand over hand for the child who has limited use of their hands.  Use a different color for each item in your picture to help differentiate each nature item.

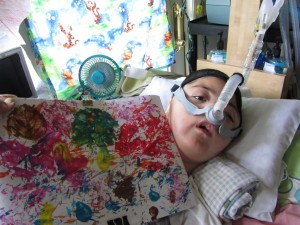
Kian loves being outside, enjoys looking around and seeing animals and feeling the sun on his face.

Next time we will show you what we did to convert a simple photo album into a beautiful personalized Grandma’s Brag book. We used a similar process with a few tweaks. Sign up to our email subscription to make sure you don’t miss a post.

For Healthy, Creative, Wonder filled kids,

Ms. Dawn

Tell us what projects you have created by using some natural elements from the great outdoors.

Other posts you may like:

  Kian & SMA1    Kian & Dad    Kian & Mom    Recycle Project   The Singing Nurse Music


Good Carrot Poem

June 9, 2012 in Children's Health Education, Creative Adventures

There once was a “good carrot”,  that hung out on a page
It kept on getting lots of hits, much to my dismay
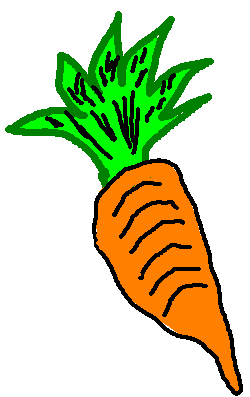
It’s just a simple carrot I said, that’s orange and green and “good”
So I wrote this little poem, to see just where we stood
We all agree that our “good carrot”, has lots of vitamin A
And that it’s good for our eyes, helping us to see
Would you be so kind, as to drop a little line
 feed my curiosity, it is getting the best of me

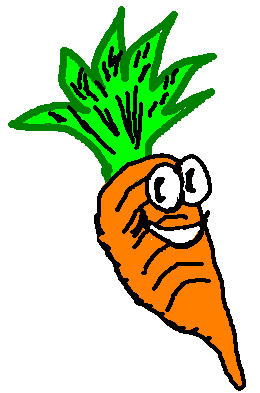
I hope this is clear, as I check my stats on my website it seems I have been getting lots of hits on my “good carrot” and my “smiling carrot”. I would really like to know why you are searching for a carrot or what project you are working on that requires a carrot picture or carrot information. Just wondering and curious, comment below please…

I use the carrot pictures in my “Health Lessons for Kids” to teach that fruits and veggies make our teeth happy.

Don’t forget to comment below…

For Healthy Kids,

Ms. Dawn, The Singing Nurse


My Mother’s Creative Legacy

May 7, 2012 in Creative Adventures


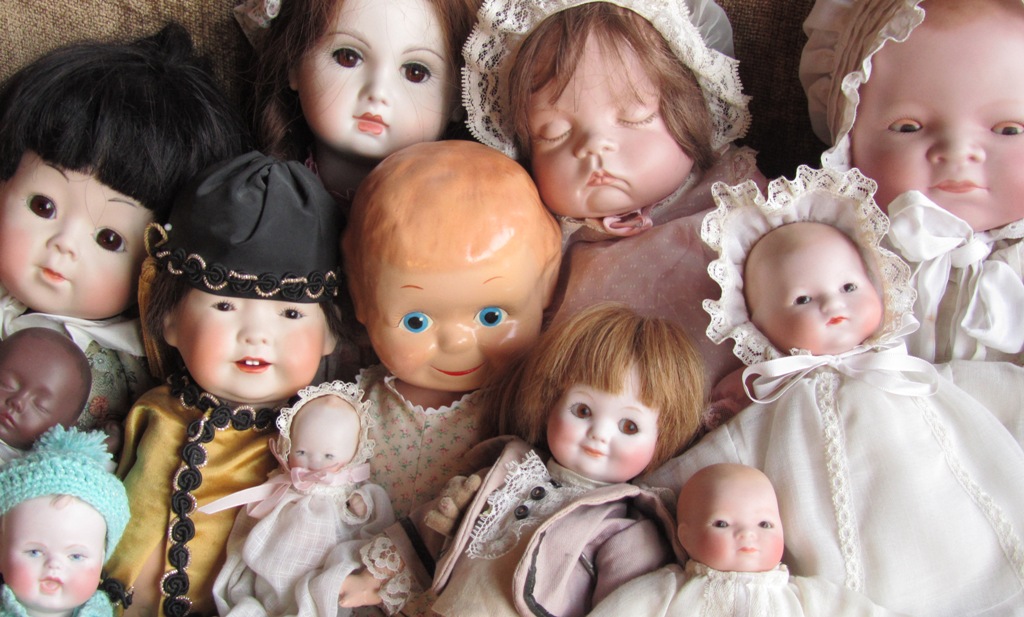
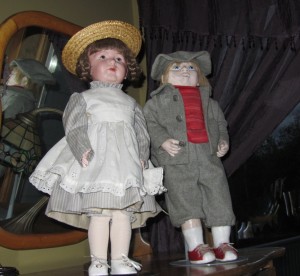
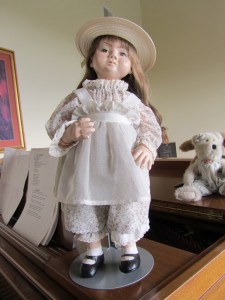
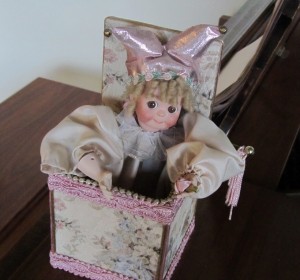
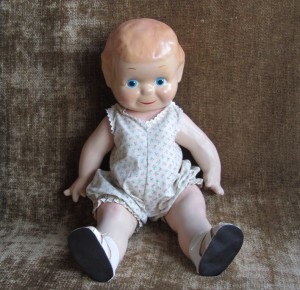
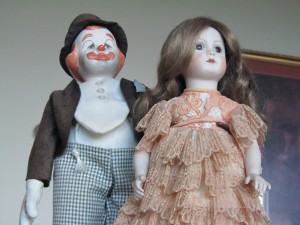
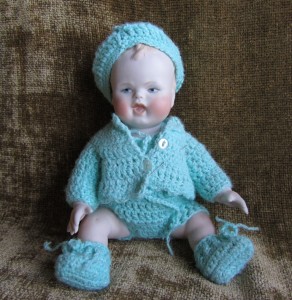
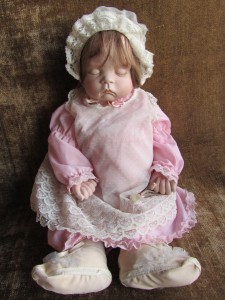
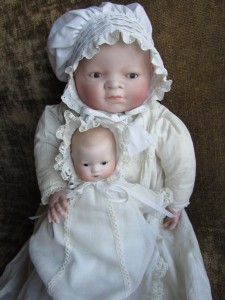
Dolls by Shirley D

I hope you enjoy my tribute to my mother who went to her rest in 1998 at the young age of 68.

Happy Mother’s Day to all of you who stop by.

My mother loved her kids and grand babies, loved old folks and was an animal lover. She enjoyed bowling (got a 200 once) and golfing later in life. She was a bit of a tomboy, liked camping, road trips, cruises and  hanging out at the beach on the week-ends. Our family bonded and ate easy prep can food dinners as we went on family sand buggy trips.

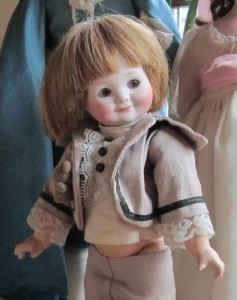
She entered the doll making world after all the kids were grown and gainfully employed. She made sculpey dolls, created porcelain dolls from scratch as she poured them in molds, sanded and cleaned them, painted them, fired them and sewed all the clothes. You will see what beautiful work she did. Now that my children are grown and gone I have more time to be creative myself, yes there is life after young kids.

It would have been nice to have enjoyed that season of my mom’s life, but…what ya gonna do, I was a very busy young mother with small children and 3000 miles away.

Shirley D, my mother


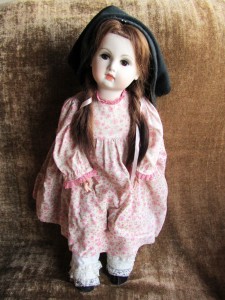
My mother also made baby blankets for my children besides all of the dolls you will see below. She loved her dolls and bears. I do not know how many dolls she made, these are the ones I inherited and she made for my kids. I have three other siblings with kids. When my mother passed on, my father was really drowning in her collection. He was going to miss her, but he was very happy to shed a small stadium of peering eyes.


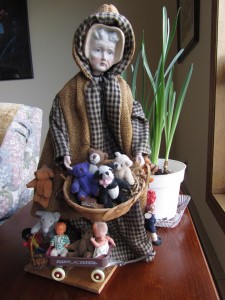
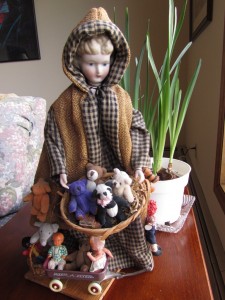
The first set of pictures are peasant dolls, the toy seller’s head turns so you are able to change back and forth to the young or old face, very cool.


The bottom two pictures are sculpey dolls. They are made from scratch, not molds and the surface feels waxy. 


Doll in a box, Campbell doll 


Clown & Flapper doll, Stevie doll


Baby dolls 


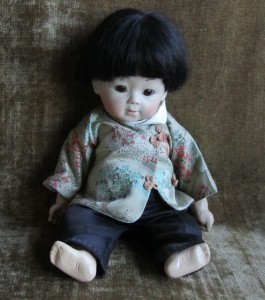
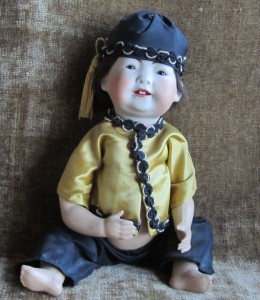
Oriental dolls, I believe one of these belonged to a royal family and my mother made a mold from the original doll.


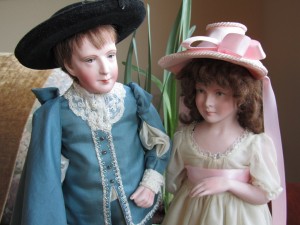
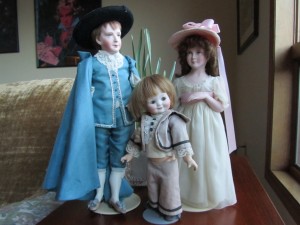
Pinkie, Blue Boy & Little boy doll. 


The Pinkie and Blue Boy dolls are really beautiful, they have so much detail. The Pinkie & Blue Boy dolls were a set, she would give one away & of course the doll dealers would want the set, so they would purchase the other doll. 

How has your mother made her imprint on your life? Is she or was she creative, loving, or a woman of God? What example has she set for you? I would love to hear from you. Please make a comment below.

Happy Mother’s Day!

Ms. Dawn

Other posts you may enjoy…

 Woman of God-Song

 Doing What They Do-Song Lyrics

 SMA Child’s tribute to mom 

 ♥ Tissue Paper Vase for Mom


The Lonely Horse picture poem

April 30, 2012 in Creative Adventures, God - Faith - Hope - Love

Lonely Horse


The Lonely Horse

Dawn Ginese 4/29/12

When you feel the need to roam

Try and take the wrong way home

You never know what you might see

You never know who you might meet

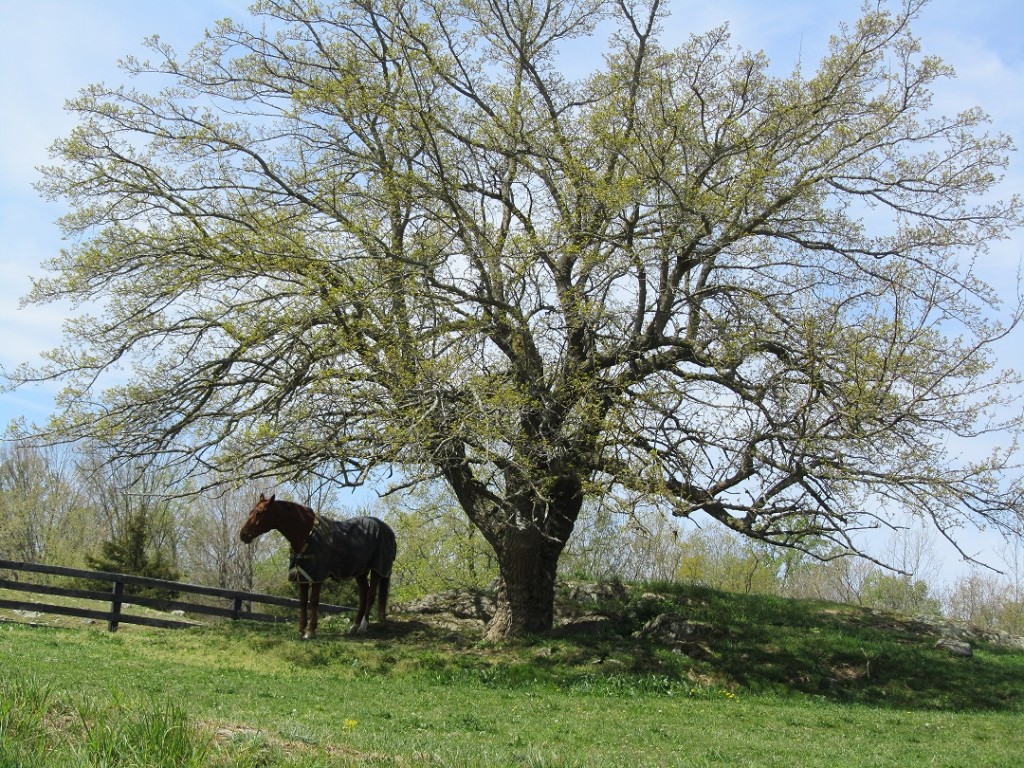
Well I gazed up, and what did I see

A lonely horse stood under a tree

He stood like a statue, he stood really still

The lonely horse, upon the hill

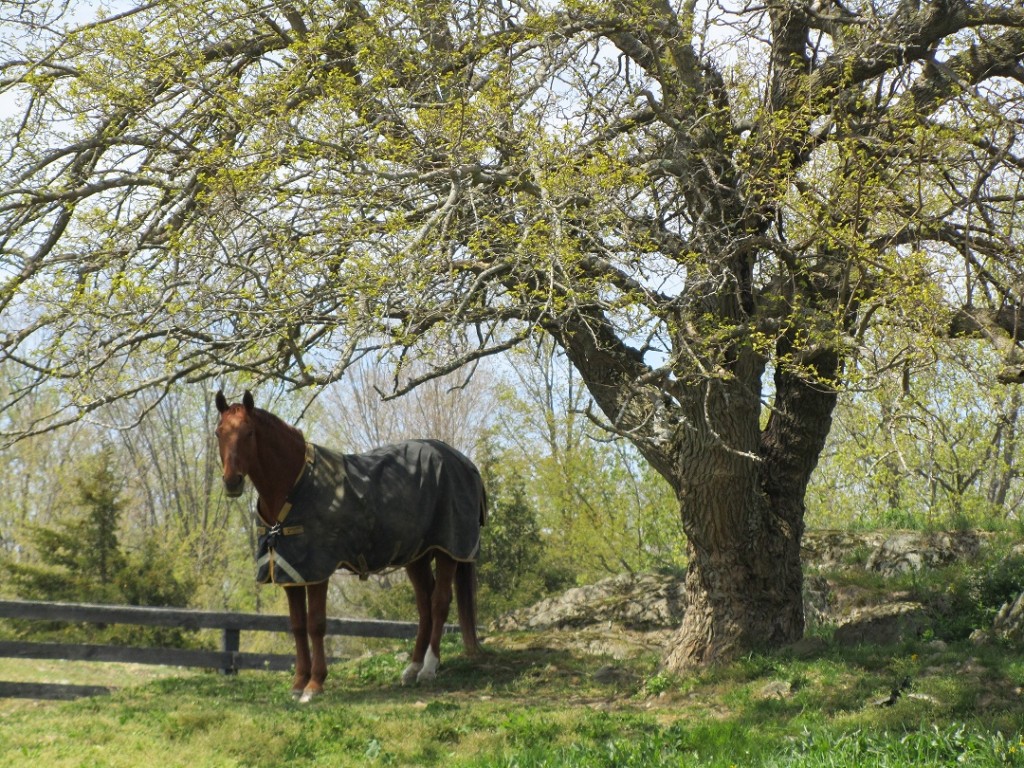
I called to him, I knew he could hear

His head perked up, he wiggled his ears

He turned towards me, his head and broad shoulders

I snapped a few pictures, he stood a bit bolder

You never know, what you might discover

The loneliness that you may uncover

When you feel the need to roam

Try and take the wrong way home

The Less Lonely Horse

I hope you enjoyed my little lonely horse poem, it could have been an old farmer or a bird who fell our of a nest. Sometimes you just never know what you will come upon when you decide to take another route. I could not decide whether to use the word “long way home” or “wrong way home”. I picked “wrong” because there really is no wrong way home, it’s just another way. I do believe in right and wrong don’t get me wrong, but as far as exploring and making new discoveries go, our paths may twist and turn and the unknown which includes an element of faith, makes it all the more exciting.
Have you met any lonely souls lately or have a favorite horse comment? Please comment below.

You may also like:

Singing Nurse Singing Nurse Where did you go? Another Spring pictoral poem

If you look around and like what  you see, sign up for my e-mail updates, I usually sent out 4-6 a month so I will not clog up your inbox. Have a great Spring and Summer.

For Healthy Nurtured Kids,

Ms. Dawn

Spring Tissue Paper Vase

March 24, 2012 in Creative Adventures

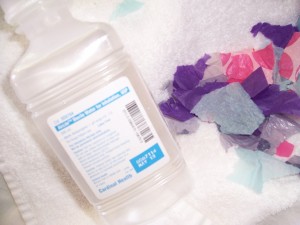
Sterile Water Bottle Tissue Paper Vase


Over the years while working with my little SMA 1 patient (he’s 5 now) we have made some fun crafts from items that would otherwise be thrown in the recycle bin or thrown away. I love looking around and seeing what can be made of these insignificant items that were very important when they were being used for there intended purpose.  My little friend is on a bipap/vent continuously as part of his treatment to sustain his life. Wow, that was painful to say. He needs moisture in his vent tubing to prevent nose bleeds and a dry mouth as you can imagine air is blowing through his nostrils nonstop (we also apply ayr, a saline moisturizer to each nostril for the same purpose).

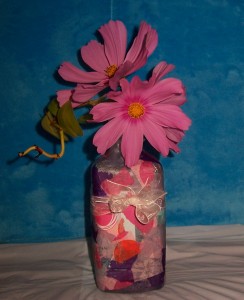
Our tissue paper vase today is made from one of his sterile water bottles, the sterile water goes in his humidifier that is connected to his bipap/vent, he uses about 2 liters in a 24 hr period.


Sterile H20 Bottle and Tissue


Pick any color tissue paper you like and rip into small manageable pieces. Remember to let the kids do the ripping, they love to experience the cause and effect of the process, feeling and hearing the paper rip is stimulating to the senses. If you are in the home care setting you may have to do hand over hand as I did with my patient.


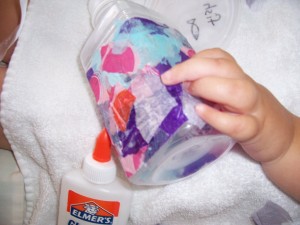
Add Tissue Paper with Glue


Place a towel over your child’s lap or cover the work area with wax paper (helps it not stick later). Apply the tissue paper to the bottle with liquid glue, you may need to thin it a little with a few drips of water so it is easier to work with. Add layers to the bottle and vary the colors, remembering not to add too many layers because the sun will shine through your vase which gives it a stain glass effect. Again, let the children feel the slimy glue, this is one of the components that makes creating art therapeutic and fun. Adults need to apply a coat of some sort of clear acrylic or it will be sticky each time you get it wet.


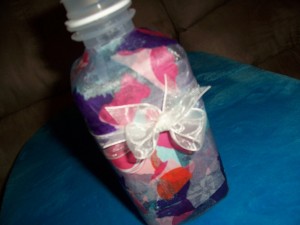
Add a Bow to Tissue Paper Vase


After the glue is dry add a bow, pick some flower and you are good to go. Easter is coming and the flowers are blooming, what mom, grandmother, aunt or sister would not appreciate such a special gift created by your child’s hands.


I have added some links below that I thought you might enjoys.

Meet my SMA1 Patient Kian      Kian’s Tribute to Dad      Kian’s Tribute to Mom     

Candy Wrapper Recycle Craft     Pipe Cleaner Paint Craft     Easter Tissue Cross Craft

Don’t forget to subscribe so you won’t miss any of our posts about:

*Tools for teaching kids about healthy living…

*Recycling craft ideas…

*My thoughts on life, family and friends…

Have a Wonderful Spring and Happy Easter!

Dawn

International Women’s Day Song Tribute

March 12, 2012 in Creative Adventures, God - Faith - Hope - Love, TSN Therapeutic Projects

“Woman of God, thank you for being a friend.”

I was straightening up my bedroom recently and found a letter from a dear friend. You know the kind, the friend that will stick with you through it all. The friend that nails the situation perfectly and helps you see things the way they really are. The kind of friend you can trust your very soul with because you have never heard her utter a gossip, so you know your most vulnerable self is safe with her. These are the kind of friends that develop over time as you experience their actions and words. These are the kind of friends my father-in-law has said, in your life time, you are a rich man if you can count true friends on one hand.

Well I reread the letter written by her and the first words that came to mind, and out of my mouth with an affirming “yes” fist in the air were,  “Woman of God”. Her words were truthful, easily entreated(kind, but cutting), you know the kind that are selected carefully after praying and asking God if you should share them.

The words in her letter resonated a bit different this time because some time has lapsed, the tough time is fading and healing, and she, a few others and God have been part of that healing. Sooo, all this to say, this “Woman of God” inspired this simple song I would like to share with you.  She is a true woman.
             

Woman of God

Woman of God, seeking His face

Pour out your heart sharing His grace

Woman of God, thank you, for being a friend


Sharing the truth, always in love

Simple kind words, even when they’re tough

Woman of God, thank you, for being a friend


Strength and honor, wisdom and kindness

And a woman, who fears the Lord

Let her be praised, let her be praised     


Though others may doubt, you lift me up

You remind me, in God I am free

Woman of God, thank you, for being a friend


Your words are like oil, healing my soul

You are so full and you overflow, on me

Woman of God, thank you, for being a friend

Dawn Ginese, 3/9/12

Click below for PDF of word only and lyrics with chords

             “Woman of God” by Dawn Ginese 3/9/12

I would that all of us would strive to be a true friend to someone.

Tell us about a true “Woman of God” in your life.  Please tell her too.  Comment below and pass along this post to a few of your true friends.
One of His,

Dawn

Original Painting in Video by Erin Dertner

Whitney Houston R.I.P.

February 19, 2012 in Creative Adventures, God - Faith - Hope - Love

Whitney Houston’s death has really affected me. I’ve been feeling a little blue lately and also recouping from a head cold. So, I’ve been resting a lot and watched all the Whitney Huston coverage on TV.  She has been really amazing and her voice has been so inspiring, a gift for sure. If I were to be honest I had lost touch with Whitney and have not really followed her over the years, but most definitely cherished her songs on the radio. I suppose I’ve heard the news and gossip of struggles, not much for watching or reading those sort of gossip pools.

I admit as a Christian I have felt that twinge of disappointment when a fellow follower that is in the spotlight wonders off the path. But I also know after being a Christian for nearly forty years that life can really be difficult at time. I have just finished a book by Brennan Manning, while he has affected so many people and has always pointed them back to the grace of God, he was dealing with his own demons of alcohol. I suppose the more we know we are wretches, the more we can agree we need Jesus.  And if not for Jesus we would all receive what we deserved and I hope you know it is not what any of us would want.

The funeral celebration for Whitney Houston was amazing and the songs were truly uplifting. It was an awesome send off. I agree as one close friend of Whitney’s wanted to convey, that we should remember the good and the legacy,  and not dwell on the muddy side roads. I pray we will withhold the judgement and leave that to a loving heavenly Father who knows absolutely everything about us, our thoughts, our struggles, our reasons, our choices and most intimately our innermost prayers and longings.
I wrote a song for a friend back in 1999 and wanted to dedicate it to Whitney Houston and her family and to anyone who has lost someone dear to them. My prayer is that the family will be comforted with the words and spirit in which it is shared. I hope anyone who hears and read the words will be encouraged as well. Until we all meet again.  Dawn


On the Day I Came to Say Good-bye D. Ginese 1999

It was snowin, on the day I came to say good-bye

And it reminded me, of the way He looks at you and I

How He washed away our sin And how He made us white as snow

And how He made us clean So we can stand before His throne

1. We are clean, not because of what we’ve done

I know you’d agree with me

That’s just not the way it comes

We were searchin, searchin for a long, long, time

And He reminded me, of the way He looks at you and I

How He washed away our sin And how He made us white as snow

How He made us clean So we can stand before His throne

 2. Well I know, this is really not good-bye

I know you’d agree with me

Life here’s but a moment in time

3. And we know, you are bowing at His throne

I know you’d agree with me

Before long we’ll all be home

It was snowin, on the day I came to say good-bye

And it reminded me, of the way He looks at you and I

How He washed away our sin

And how He made us white as snow

And how He made us clean

So we can bow before His throne

Lord you made us clean

So we can bow before Your throne

Make a comment… How has the life and death of Whitney Houston affected you?

Candy Wrapper Valentine Craft

February 12, 2012 in Creative Adventures, TSN Therapeutic Projects

I’ve been thinking of posting the projects I’ve been creating in the home care setting over the years. You may be some sort of health care worker and just can’t think of what to do with your young patient to make things interesting and to help perk up their day. Many of our patients are home bound and life can get a little boring when the teacher, OT, or PT are not showing up on any given day. I know you can think of things to make, let’s put our heads together, look around and let those creative juices flow. Many of my ideas incorporate bringing the outside in using the objects of nature, creating simple songs with a small keyboard, recycling medical supplies and household items. I might even share some animation ideas that are simple to create from the projects you will make.

Valentines Project:

One of my co-workers brought in some candy from her homeland so I saw the shiny little wrappers and thought oh, we can make something with that. I know if any preschool teachers are reading this post, they may think, wow, I always think like that. I do refer to myself at time as a preschool teacher with the nurses hat because of my creative tilt. Prek teachers are some of the most creative recycling people you will meet and their closets of saved items will attest to this, lol.

So I started saving the wrappers that will be part of our heart creation. Don’t forget to speak with your patient about your plans, draw them into the creative process. They love to hear about and begin anticipating what might become of those shiny little papers.

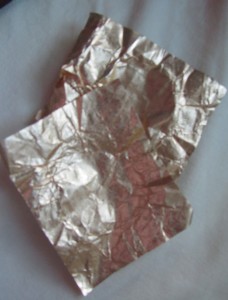
Chocolate wrappers

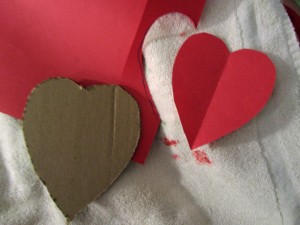
Create a pattern from paper then trace it to a cardboard box flap(this is recycling boxes from the shipping of medical supplies) Make sure and let the child watch as you cut the cardboard, hearing the sounds and seeing the fragments dropping are fun and great sensory activities.

make a pattern

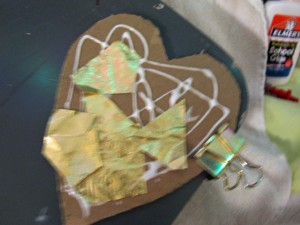
Cut up shiny candy papers to smaller pieces and paste them to the the cardboard heart. Use liquid glue, my little friend loves watching the glue fall to the heart and feeling the sticky slimy texture on his fingers.

add glue and papers to cardboard heart

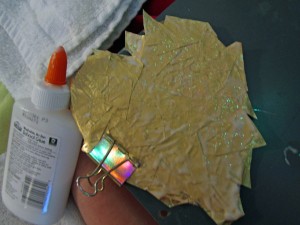
After completing one side let it dry on a piece of wax paper,  flip it over and do the back side, wrap papers around the edges as well to create a completely covered heart.

cover both sides and wrap around the edges

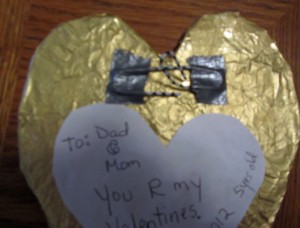
Add a hanger to the back so your project can be hung on the wall. We did some bending to a paper clip and attached it with some duct tape and glued a piece of paper with a valentine message.

attach a hanger to the back of heart

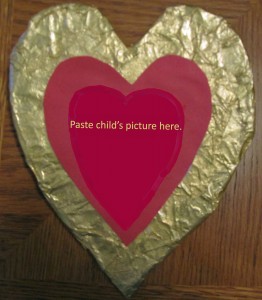
Finally, glue your child’s picture to the front of your valentine heart. We glued a piece of red construction paper on first so our picture would have a nice border. Adding a heart shaped paper lace doily would look great too.

add your child's picture

Hope you enjoyed our recycle and creative project in the home care setting.

Please sign up to receive more fun project ideas.

Always for Happy Healthy Kids

Happy Valentines Day!

Ms. Dawn

Other stuff you may like to check out.

The Singing Nurse Music        Making Greeting Cards        Simple Picture Frame